
how to update graphics driver windows 11 is usually the fastest way to fix random screen flicker, games that stutter, or apps that crash right when the GPU gets busy.
The tricky part is that Windows 11 gives you multiple “correct” paths, and they don’t all deliver the same driver version or stability. Windows Update often prioritizes reliability, while NVIDIA/AMD/Intel tools may push newer features faster. Picking the wrong route can also create headaches like black screens, failed installs, or performance getting worse instead of better.
This guide helps you choose the right update method for your situation, check what you have now, update safely, and roll back if the new driver causes trouble.
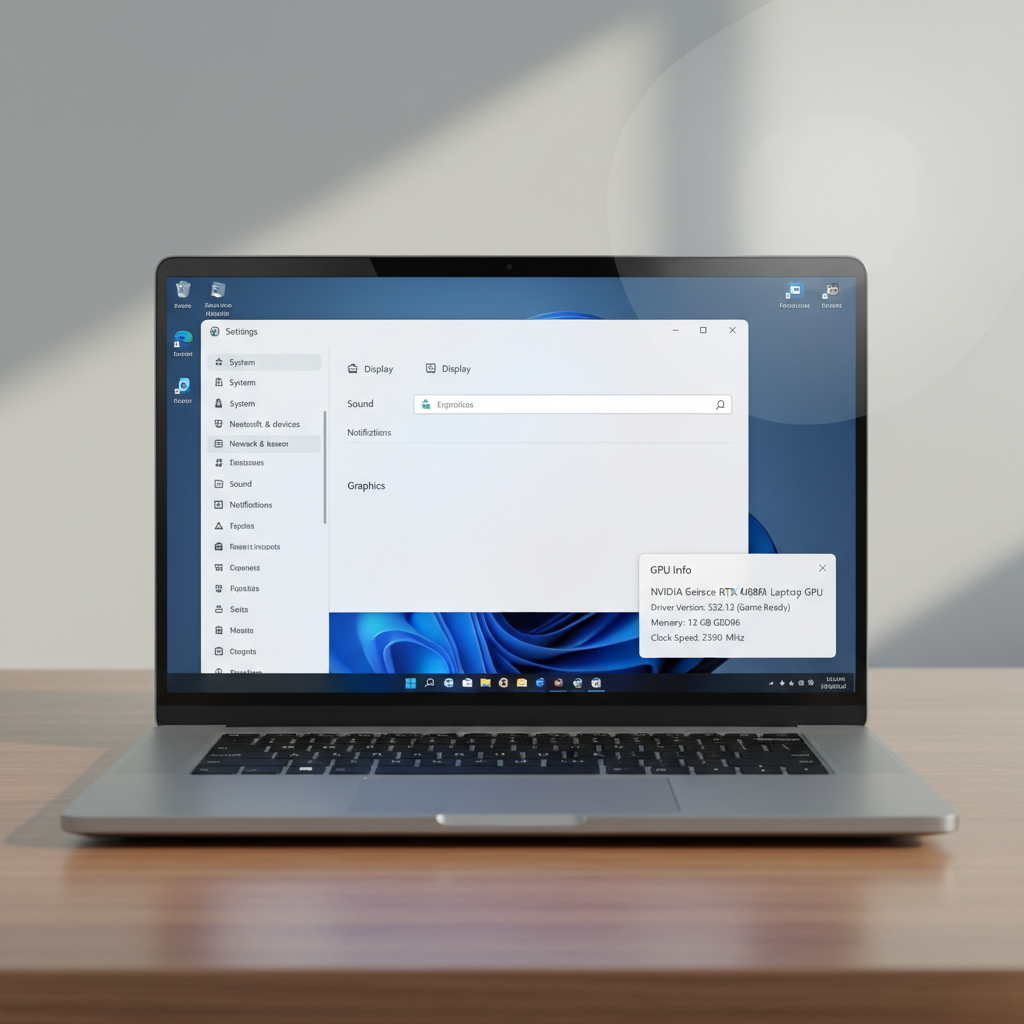
Before you update: identify your graphics hardware and current driver
Before any update, confirm what GPU you actually use. Many laptops have both integrated graphics (Intel/AMD) and a discrete GPU (often NVIDIA). Updating the wrong one is a common time-waster.
Quick ways to check GPU model
- Task Manager: Ctrl + Shift + Esc → Performance → GPU 0 / GPU 1
- Device Manager: Start → search “Device Manager” → Display adapters
- DirectX Diagnostic Tool: Win + R → type dxdiag → Display tab
Also note your current driver version and date. You’ll want this if you need to roll back.
- Device Manager → Display adapters → double-click your GPU → Driver tab
Which update method should you use? (A practical decision table)
Different scenarios call for different update paths. If your PC is stable and you just want security and compatibility, Windows Update is often enough. If you game, edit video, or run AI workloads, vendor drivers may be the better fit.
| Situation | Recommended method | Why this usually works |
|---|---|---|
| PC is stable, just want safe updates | Windows Update | Typically favors tested drivers and fewer surprises |
| New game/app wants “latest driver” | NVIDIA/AMD/Intel official tool | Faster access to new fixes and optimizations |
| Driver issues after an update | Roll back or clean reinstall | Backs out a bad version or removes corrupted remnants |
| Work laptop managed by IT | Ask IT / follow company portal | Avoids policy conflicts and compliance problems |
According to Microsoft Support, drivers can be delivered through Windows Update, and Device Manager can be used to manage driver installation and troubleshooting.
Method 1: Update your graphics driver through Windows Update
This is the least risky route for many people. It’s also the simplest when your goal is “stop the flicker” rather than “squeeze every frame out of a new release.”
Steps
- Open Settings → Windows Update
- Select Check for updates
- If you see Optional updates, open it and look under Driver updates
- Select the graphics driver item (if present) → Download & install
- Restart if prompted
Key point: Windows Update may not offer the newest NVIDIA/AMD/Intel driver, and that’s not automatically a bad thing. For office PCs and general use, “not newest” can still be “most stable.”
Method 2: Update via Device Manager (useful, but don’t expect miracles)
Device Manager is helpful for confirming what Windows thinks your GPU is and for quick installs. But its “Search automatically” option often pulls from the same pool as Windows Update, so it may not find the latest driver.
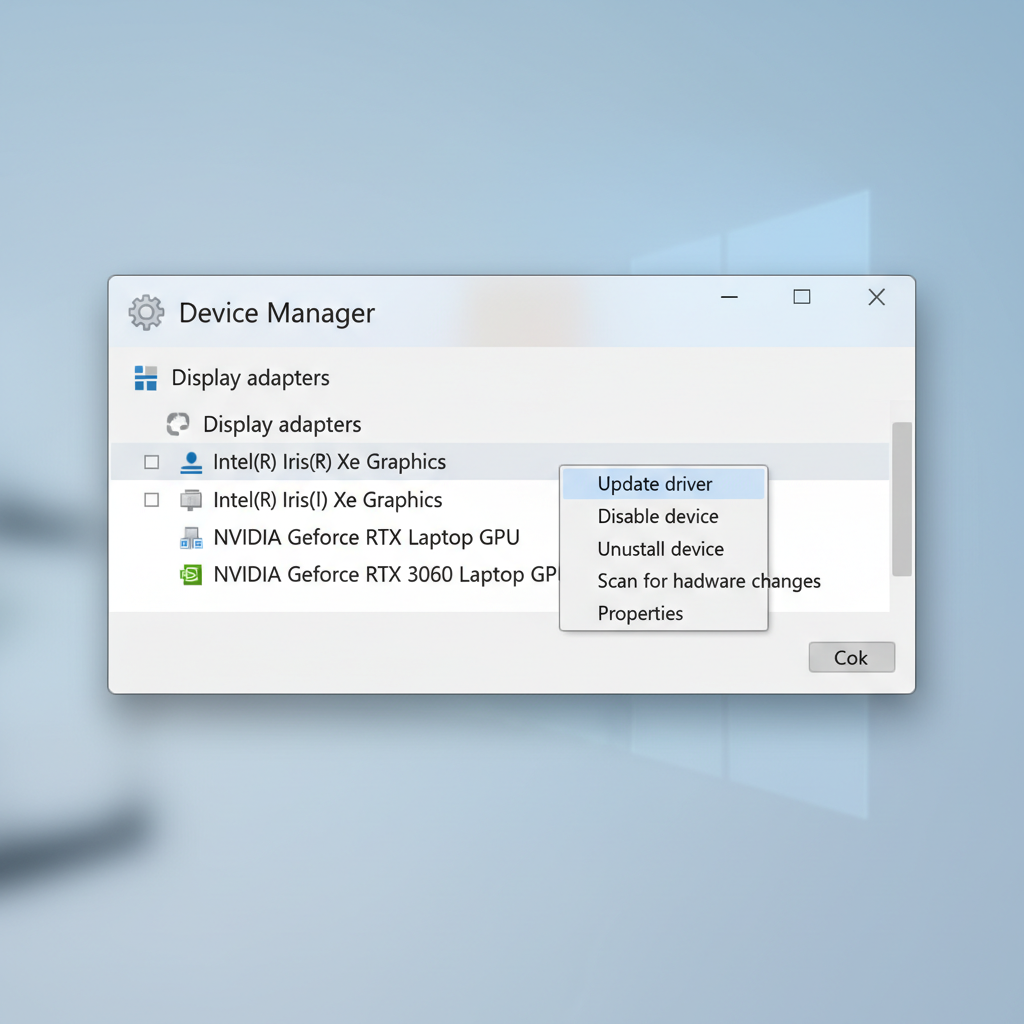
Steps
- Right-click Start → Device Manager
- Expand Display adapters
- Right-click your GPU → Update driver
- Choose Search automatically for drivers (or Browse my computer if you already downloaded one)
- Restart
When “Browse my computer” makes sense: you downloaded the correct driver package from the GPU vendor or your laptop maker and you want to point Windows at it.
Method 3: Update from the GPU maker (NVIDIA, AMD, Intel)
If you’re looking up how to update graphics driver windows 11 because games crash, FPS tanks after a patch, or creative apps glitch, vendor tools are often the most direct fix.
NVIDIA (GeForce Experience or NVIDIA App)
- Install the official NVIDIA app (or GeForce Experience) from NVIDIA
- Open it → go to Drivers → Check for updates
- Pick Express install for convenience, or Custom if you want a cleaner reinstall option
AMD (AMD Software: Adrenalin Edition)
- Install AMD Software from AMD’s official site
- Open it → Settings (gear icon) → check for updates
- Install and reboot if prompted
Intel (Intel Driver & Support Assistant)
- Install Intel Driver & Support Assistant from Intel
- Run the scan in your browser/app
- Apply the recommended graphics driver update
Small reality check: on some laptops, the laptop manufacturer customizes graphics drivers for thermal management or hybrid graphics behavior. In those cases, the OEM driver can be smoother than a generic vendor release.
Method 4: Use your PC or laptop manufacturer driver (often underrated)
For many Dell/HP/Lenovo/ASUS/Acer laptops, OEM drivers can reduce weird edge cases: external monitor wake issues, brightness control bugs, or switching between iGPU and dGPU. If your device is a laptop and you’ve had “everything should work but doesn’t” issues, this route is worth trying.
- Go to your manufacturer support site
- Search your exact model number
- Download the Windows 11 graphics driver package
- Install, then restart
According to NVIDIA, AMD, and Intel documentation, using official sources helps avoid tampered or incorrect driver packages.
If the update causes problems: rollback, restore point, or clean reinstall
Most updates go fine, but if you see black screens, repeated crashing, or performance drops, don’t keep reinstalling blindly. Back out cleanly, then reassess.
Option A: Roll back the driver (fastest)
- Device Manager → Display adapters → double-click GPU
- Driver tab → Roll Back Driver (if available)
- Restart and retest your problem app/game
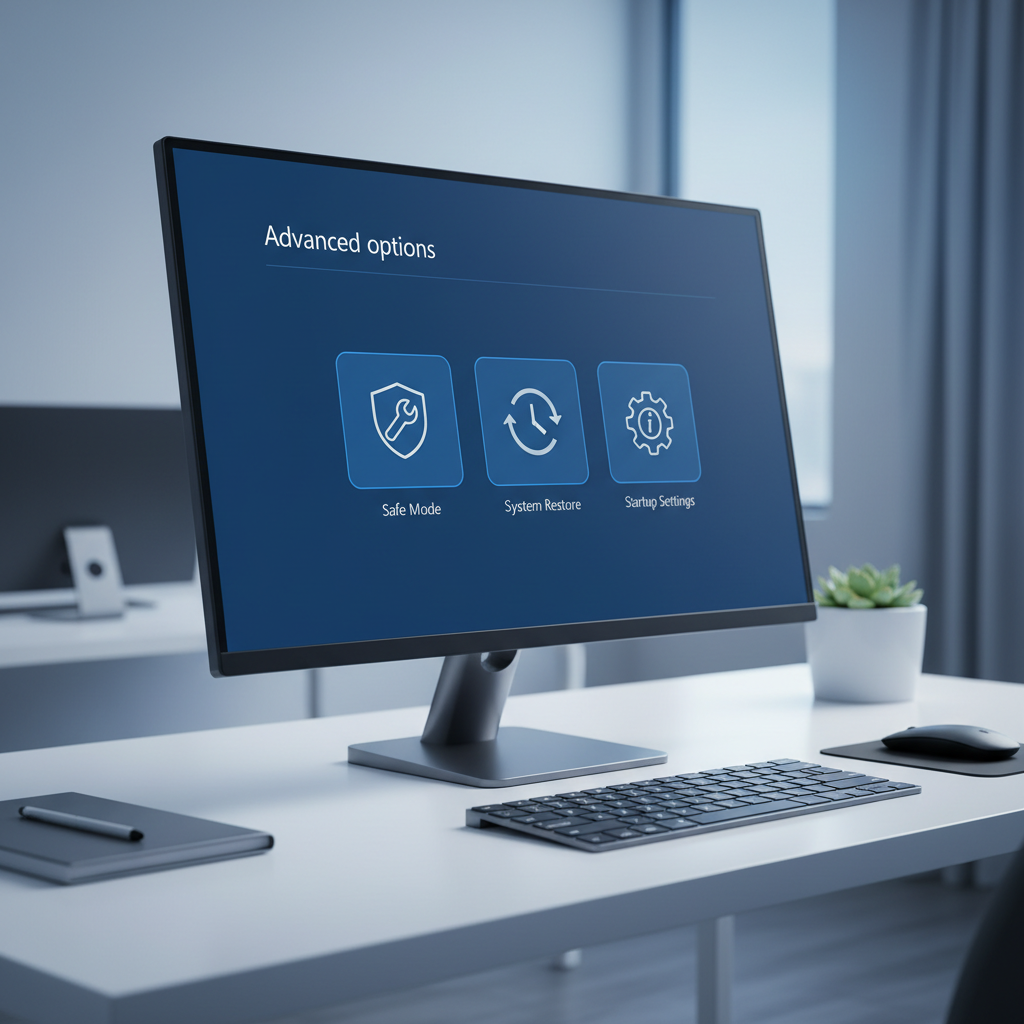
Option B: Use System Restore (when Windows feels unstable)
- Search Windows for Create a restore point
- Open System Restore and pick a point before the driver change
Option C: Clean reinstall (when the install seems corrupted)
- Download the latest driver from the vendor/OEM
- Use the vendor installer “clean install” option if offered
- If you’re using third-party cleanup tools, be cautious and double-check instructions, since mistakes can remove needed components
Safety note: if you rely on your PC for work and a driver update makes it unstable, it may be worth pausing updates and consulting a qualified technician, especially if Safe Mode troubleshooting feels unfamiliar.
Practical checklist: make the update stick (and avoid the common traps)
This is the stuff that saves time in real life, especially when you’re updating because something is already broken.
- Create a restore point if you’re changing drivers to solve a crash loop
- Plug in laptops during installation, power loss mid-update can create messy failures
- Close GPU-heavy apps like games, editors, browsers with lots of video tabs
- Match the driver to your GPU and Windows version (Win11 64-bit is most common)
- Reboot once even if the installer doesn’t force it, display components often finalize on restart
- Test the original problem (the specific game, app, monitor setup) before you declare success
Key takeaways: pick the update method that matches your goal, track your current version, and keep a rollback path. That’s the difference between a five-minute fix and an annoying weekend project.
Conclusion: the safest way to update, without overthinking it
If you want the low-drama approach, start with Windows Update and optional driver updates, then verify the driver version and test the app that triggered the issue. If you’re updating for gaming or GPU-heavy work, using NVIDIA/AMD/Intel tools often gets you newer fixes faster, but keep rollback in mind.
Do one change at a time, restart, and retest. If you’re still stuck, note your GPU model, current driver version, and what exactly fails, then reach out to the device maker or a technician with those details, it speeds up troubleshooting a lot.