
how to remove dust from laptop fan at home is mostly about restoring airflow, not chasing perfection, and you can usually get noticeable noise and temperature improvements with a careful, low-risk clean.
If your laptop suddenly sounds like a tiny vacuum, runs hot on your lap, or throttles performance during calls and gaming, dust buildup is one of the most common culprits. The tricky part is that “cleaning the fan” can mean anything from a gentle vent clean to a full bottom-cover removal, and those are not the same risk level.
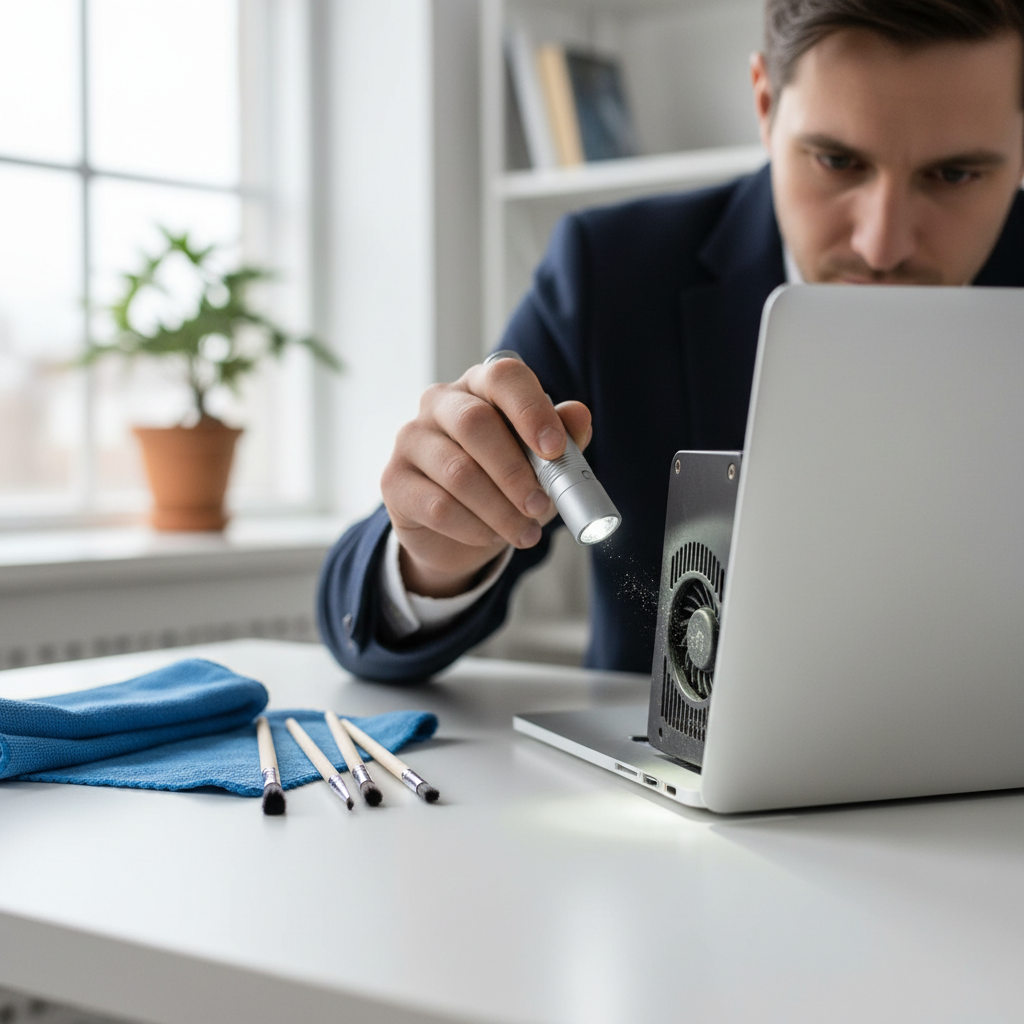
This guide helps you decide which approach fits your situation, how to clean without spinning the fan into damage, what to avoid, and when it’s smarter to stop and ask a repair shop for help.
Why laptop fans collect dust (and why it gets worse over time)
Dust doesn’t just sit on the fan blades, it mats into the heatsink fins like felt, which blocks airflow and traps heat. Many laptops also pull air from the bottom, so soft surfaces make it easier for lint to get sucked in.
- Pet hair and fabric lint tend to form “dust bunnies” that clog fins faster than normal household dust.
- Using the laptop on a bed or couch reduces intake airflow and increases debris intake.
- High-heat workloads like gaming or video meetings keep the fan running longer, pulling more dust through.
- Older thermal paste can dry out, raising temps, which makes the fan run harder and pull in more debris.
According to U.S. Consumer Product Safety Commission (CPSC) guidance on electronics safety, keeping vents unobstructed helps reduce overheating risk, and cleaning should be done with the device powered off and unplugged.
Quick self-check: how dirty is the fan, really?
Before you open anything, do a fast triage. A lot of people jump to disassembly when a vent clean would have been enough.
Signs a basic external clean may be enough
- Fan noise increased slightly, mostly under load
- Vents look dusty but not clogged
- No sudden shutdowns or burning smell
Signs you may need deeper cleaning (bottom cover off)
- Airflow feels weak even at high fan speed
- Fan ramps up quickly after boot, even at idle
- Vents show packed lint, like gray felt
- Temps spike and performance drops (thermal throttling)
Red flags to stop and consider professional help
- Grinding or clicking sounds from the fan
- Random shutdowns, battery swelling, or strong odor
- Liquid spill history, even if “it dried”
Tools and supplies (what helps, what harms)
You can do a safe at-home clean with simple tools, but a couple items are non-negotiable if you plan to open the chassis.
- Compressed air (short bursts) or an electric air duster with controlled airflow
- Soft brush (anti-static brush is nice, a clean makeup brush often works)
- Microfiber cloth for exterior vents and surfaces
- Small screwdriver set (Phillips, Torx, or pentalobe depending on model)
- ESD precautions: at minimum, touch a grounded metal object; ideally use an anti-static wrist strap
- Flashlight to check fins and corners
Avoid vacuums directly on internals, the static risk is real, and avoid blowing air for long stretches into a free-spinning fan, overspinning can damage bearings.
Method 1: Clean dust from vents without opening the laptop (low risk)
If you want the safest route, start here. For many laptops, this is enough to noticeably reduce fan noise.
Step-by-step
- Shut down fully, unplug the charger, and disconnect peripherals.
- If your laptop has a removable battery, remove it. If not, keep the device powered off and avoid pressing the power button.
- Hold the laptop so vents are facing downward or sideways, so loosened dust can fall out.
- Use compressed air in short bursts from a few inches away, aiming through the exhaust vent first, then the intake vents.
- Pause between bursts, listen for the fan spinning up, if it does, reduce airflow and change angle.
- Wipe exterior vent grilles with a microfiber cloth.
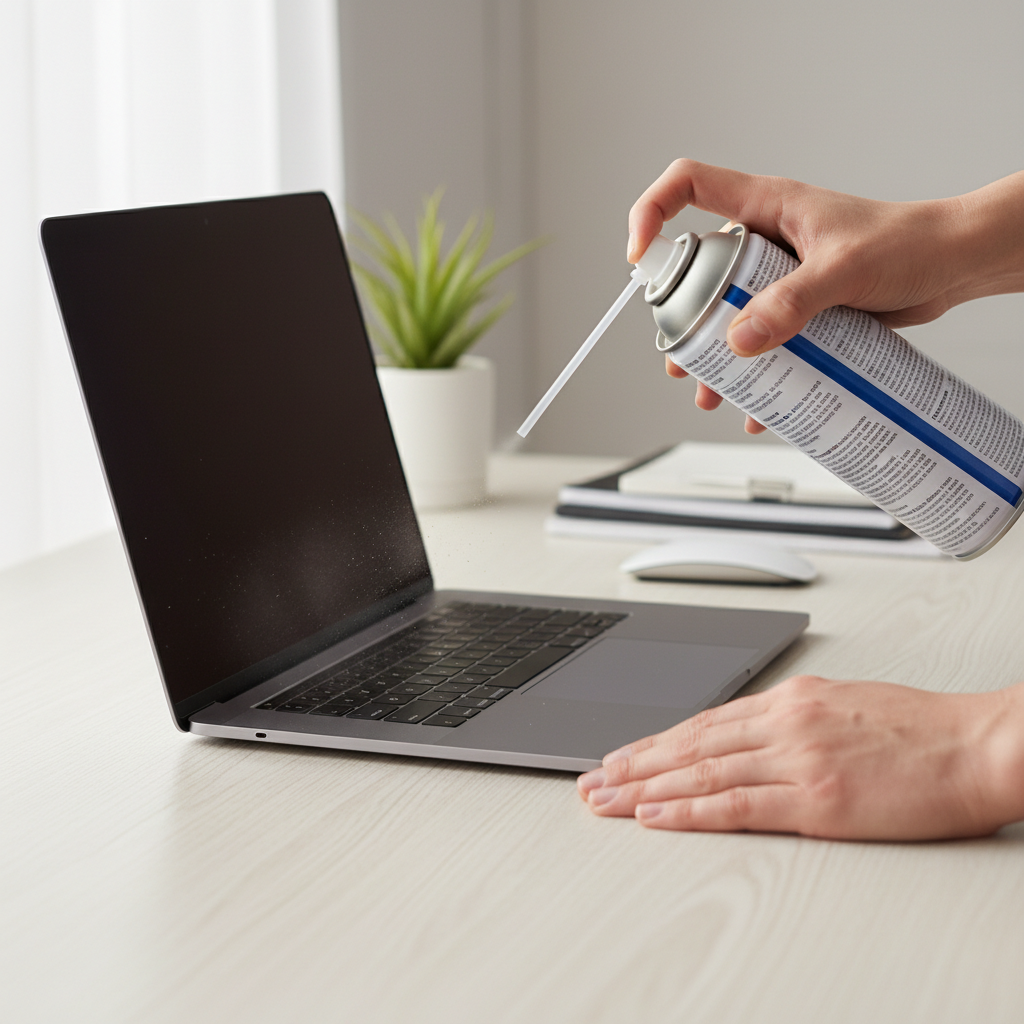
After that, boot up and check if the airflow feels stronger and the fan ramps less aggressively. If you still have weak airflow, the blockage is often deeper at the heatsink fins.
Method 2: Clean the fan and heatsink by removing the bottom cover (medium risk)
This is the “real” version of how to remove dust from laptop fan at home, but it’s also where people strip screws, tear clips, or forget a cable. If the laptop is under warranty, opening it may affect coveRAGe, so check the terms for your brand.
Before you start: set yourself up to win
- Work on a clean table with good light, not on carpet.
- Take photos as you go, especially screw locations, some laptops use different lengths.
- Use a parts tray or labeled cups for screws.
Step-by-step (general approach)
- Power off, unplug, and hold the power button for 10 seconds to help discharge residual power.
- Remove bottom screws, then gently release clips with a plastic pry tool.
- Disconnect the battery if the connector is accessible. This reduces risk of shorting something accidentally.
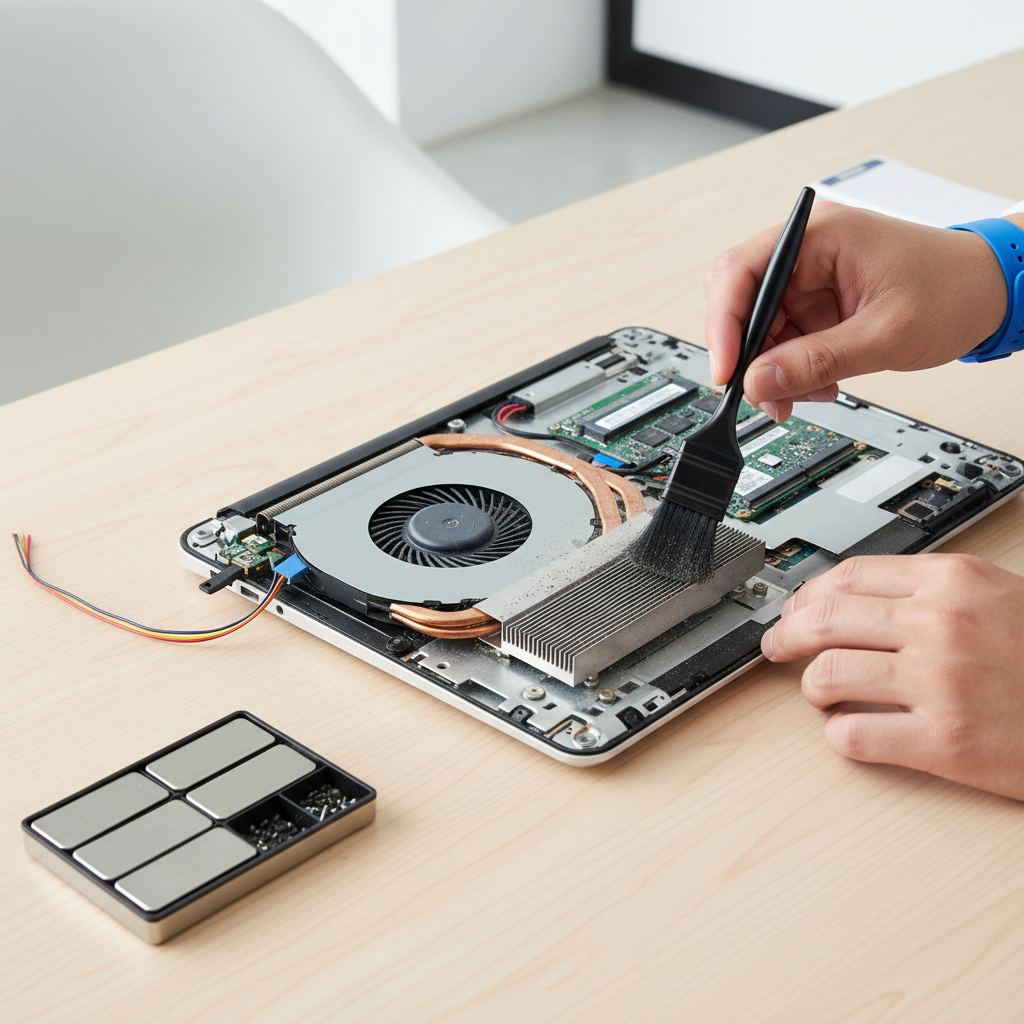
- Locate the fan and heatsink fins. You’ll usually see a dust “wall” at the fin stack.
- Hold the fan blades in place with a toothpick or plastic spudger, then use short air bursts to blow dust out through the fins, ideally in the reverse direction of normal airflow.
- Use a soft brush for stuck-on lint, then air again.
- Reassemble carefully, reconnect battery, ensure the cover sits flush before tightening screws.
According to Apple support safety guidance for handling electronics, you should disconnect power, avoid touching internal components unnecessarily, and use appropriate tools to reduce damage risk.
What to do if the fan still runs loud after cleaning
Cleaning helps, but it’s not magic. If noise remains, you’re probably dealing with heat generation, fan control behavior, or hardware wear.
Common next checks
- Background apps: video conferencing, browser tabs, and cloud sync can keep CPU busy.
- Airflow path: blocked intake (dock, soft surface) can mimic dust symptoms.
- Fan curve: some OEM utilities run fans aggressively to keep surfaces cooler.
- Worn fan bearings: a rattling or uneven pitch often points here, cleaning won’t fix it.
Quick temperature sanity check
Use a reputable monitoring tool for your OS to confirm temps at idle and under load. You don’t need perfect numbers, you’re looking for obvious improvement after cleaning and whether temps jump too fast.
Safety notes and common mistakes (this is where most DIY goes wrong)
- Do not blast compressed air continuously, moisture and propellant can spit out if you tilt the can.
- Do not let the fan free-spin at high speed, overspinning can damage the motor or bearings.
- Do not pry metal tools near the battery, puncture risk is serious.
- Do not “wipe” a circuit board with random cloth, if you must clean residue, use 90%+ isopropyl alcohol and consult your device service guidance.
- Do not assume heat equals dust, sometimes it’s failing thermal paste, a heatpipe issue, or a software load problem.
If you notice battery swelling, unusual odor, or repeated shutdowns, stop using the device and consider a qualified technician. Those scenarios can carry safety risk.
Which cleaning approach should you choose? (quick comparison table)
Here’s a practical way to decide what to try first.
| Situation | Best first step | Risk level | What to expect |
|---|---|---|---|
| Light dust visible on vents, mild noise | External vent cleaning with short air bursts | Low | Often reduces fan ramping and improves airflow |
| Weak airflow, vents look clogged | Bottom cover removal, clean fins and fan area | Medium | More noticeable temp and noise improvement |
| Rattling/clicking fan | Inspect fan, consider replacement | Medium-High | Cleaning may help briefly, hardware may be worn |
| Shutdowns, smell, swelling battery | Stop use, professional diagnosis | High | Safety-first, avoid DIY experimentation |
Practical maintenance plan (so you don’t have to do this every month)
If your environment is dusty or you have pets, a small routine beats one big risky teardown.
- Every 1–2 months: quick exterior vent wipe, check that intake vents stay clear.
- Every 3–6 months: external air clean, especially if fan noise returns.
- As needed: deeper clean when airflow drops or temps spike quickly under normal use.
Key takeaways: start with the lowest-risk method, keep the fan from overspinning, and treat persistent noise as a clue, not a personal failure.
Conclusion: a clean fan is mostly about airflow and restraint
How to remove dust from laptop fan at home comes down to choosing the right depth of cleaning, using short controlled air bursts, and knowing when the problem is bigger than dust. If you try the vent method and still feel weak airflow, a careful bottom-cover clean usually makes the difference, but if you hear grinding or see battery issues, it’s time to step back.
If you want one action today, do the quick vent clean with safe airflow angles, then listen to how the laptop behaves over the next day of normal work, that feedback tells you whether deeper cleaning is worth it.
FAQ
How often should I remove dust from my laptop fan at home?
Many people do fine with a light vent clean every few months, but homes with pets, carpet, or smoking often need it more frequently. If fan noise returns quickly, that’s your practical schedule.
Can compressed air damage a laptop fan?
It can, mainly if you overspin the fan or spray continuously at close range. Short bursts and holding the fan blades still (when accessible) reduces that risk.
Is it better to blow air into the exhaust or the intake?
Both can help, but blowing through the exhaust first sometimes pushes lint back out of the heatsink fins. If you open the bottom, reversing airflow through the fins is often more effective.
Why is my laptop still overheating after I cleaned the vents?
Overheating can come from a clogged fin stack deeper inside, dried thermal paste, a failing fan, or heavy background CPU/GPU use. A quick temp check plus airflow feel usually narrows it down.
Should I use a vacuum to remove dust from a laptop fan?
Usually not directly on internal components because of static and the chance of pulling cables or dislodging tiny parts. If you use a vacuum at all, keep it on the exterior and avoid contact with ports and internals.
Do I need to replace thermal paste when cleaning the fan?
Not automatically. If the laptop is older, temps spike fast, and cleaning doesn’t help much, a repaste might help, but it’s more advanced work and can be worth having a technician handle.
Can cleaning fix a rattling laptop fan?
Sometimes dust causes imbalance noise, but rattling often suggests worn bearings or a loose fan housing. If the sound persists after cleaning, replacement is a more realistic fix.
If you’re trying how to remove dust from laptop fan at home but you’re unsure about your model’s screw types, battery connector, or warranty implications, a quick look at the official service guide for your exact laptop, or a local repair shop estimate, can save you from an expensive “one slipped pry tool” moment.