
how to change screen timeout windows 11 is usually a two-minute fix, but it can feel weirdly hidden when your laptop keeps going dark mid-read or your desktop never turns off the display.
Screen timeout is more than a convenience setting, it affects battery life, privacy (your screen staying on in public), and even workflow if you present or reference notes often. The “right” number depends on what you do and whether you’re plugged in.
This guide walks through the simplest Settings path, then the advanced options that matter when Windows 11 ignores your choice, like power plans, battery saver, drivers, and group policies.
What “screen timeout” means in Windows 11 (and what it does not)
Windows 11 uses a few related power settings that people mix up:
- Turn off my screen after: your display goes dark, but the PC can stay on.
- Put my device to sleep after: your PC enters sleep mode, apps pause, and wake takes a moment.
- Screen saver: a visual/lock feature, not the same as display power.
- Lock screen timeout: how long the lock screen stays visible before turning off.
If your goal is “stop the display from turning off while I’m reading,” you want the screen timeout setting. If your goal is “don’t sleep during a long download,” you must adjust sleep too.
Change screen timeout in Settings (the method most people need)
For most Windows 11 PCs, the fastest path sits in System settings.
Step-by-step
- Open Settings (Win + I).
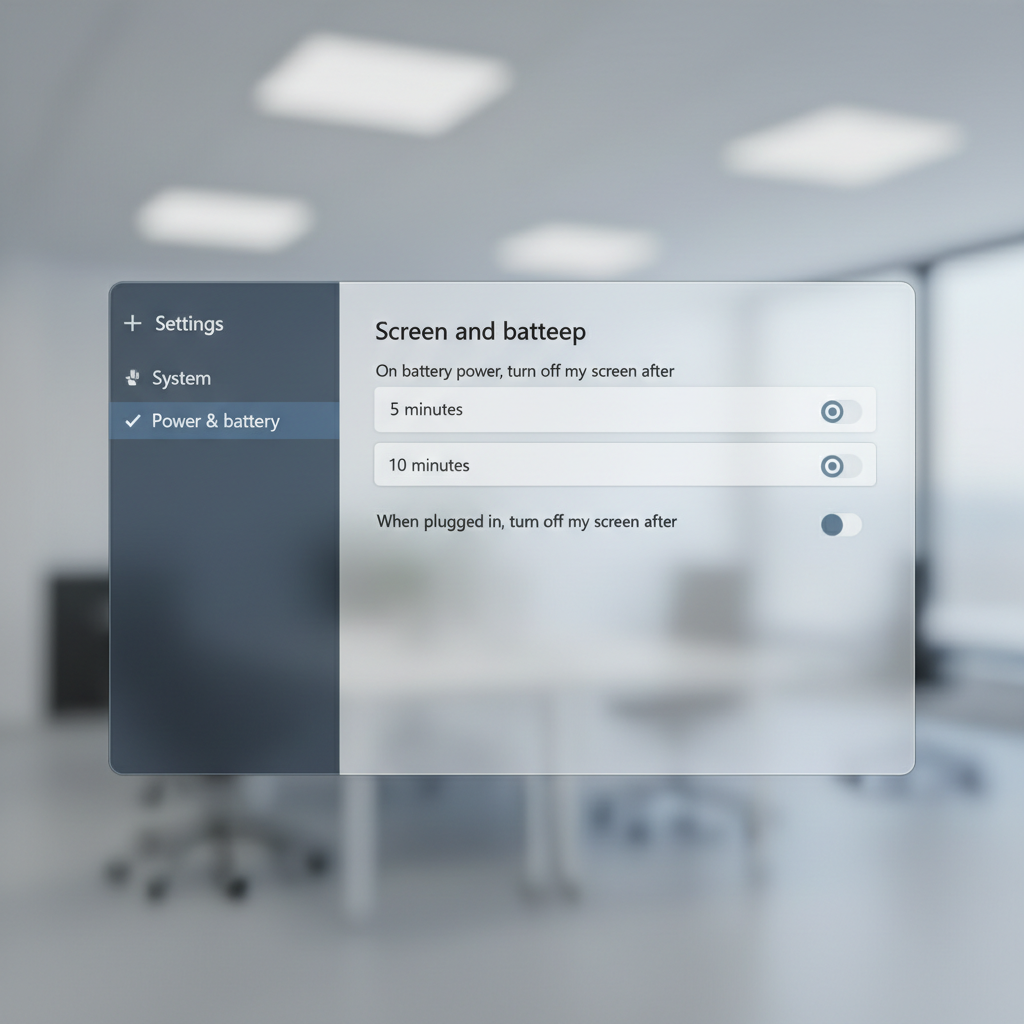
- Go to System > Power & battery.
- Expand Screen and sleep.
- Set Turn off my screen after for On battery and When plugged in.
That’s it. If you only change “Plugged in” but you’re actually on battery, it will still time out quickly, so it’s worth checking both.
Quick recommendations (pick a sensible timeout)
There isn’t one perfect number, but these ranges usually feel reasonable without draining battery unnecessarily.
| Use case | On battery | Plugged in |
|---|---|---|
| Reading, email, light work | 3–5 minutes | 10–15 minutes |
| Meetings, notes, multitasking | 5–10 minutes | 15–30 minutes |
| Presenting or kiosk-style use | Use with caution | Never (temporarily) |
| Battery-critical travel | 1–3 minutes | 10 minutes |
Key point: If you set the screen to “Never,” consider enabling a shorter lock timeout or using Win + L when you walk away, especially in shared spaces.
If your screen still times out too fast: a quick self-check
When people say Windows 11 “ignores” their choice, it’s usually one of these situations.
- You changed sleep, not screen, or vice versa.
- Battery Saver is on and reduces timeouts.
- A vendor utility (Dell/HP/Lenovo power app) overrides Windows settings.
- Modern Standby behavior makes the system feel inconsistent.
- Group Policy or MDM (work/school device) enforces a limit.
According to Microsoft documentation and support guidance, many power and sleep behaviors can be managed by organizational policies on managed devices, which can override local user preferences.
Advanced ways to change timeout (Control Panel and power plans)
If you want more granular control, or Settings feels limited, the classic Power Options panel still works on Windows 11.
Control Panel path
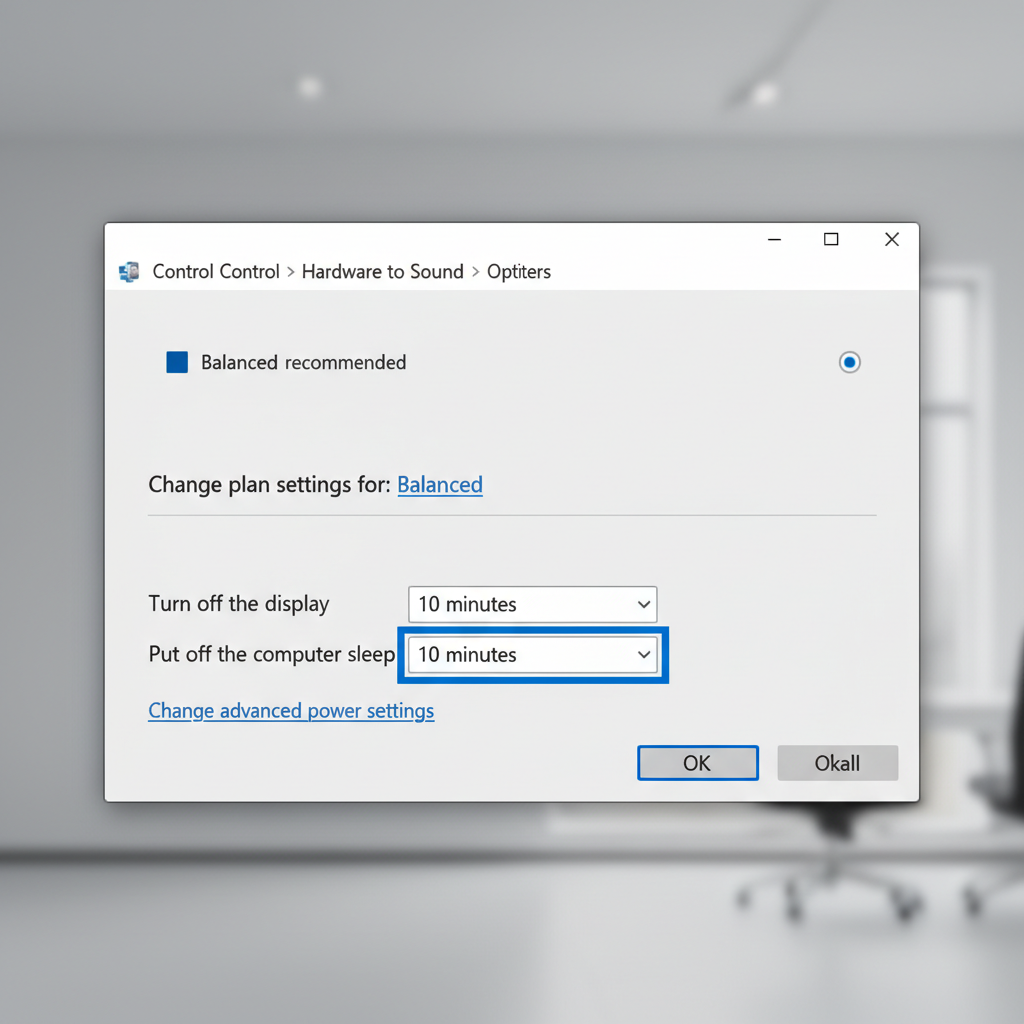
- Open Control Panel > Hardware and Sound > Power Options.
- Next to your selected plan, click Change plan settings.
- Adjust Turn off the display and Put the computer to sleep.
- Click Save changes.
When this method helps
- You’re switching between power plans and each plan needs its own timeout.
- You suspect another setting “wins” over the Settings app value.
If your original search was how to change screen timeout windows 11 because you can’t find the option, this panel often feels more obvious, even if it’s older.
Fix common blockers: Battery Saver, drivers, and “lock screen” confusion
Here are the fixes that tend to actually move the needle when timeouts keep snapping back.
1) Check Battery Saver
- Settings > System > Power & battery > Battery saver
- If it’s enabled, try turning it off briefly and test your new screen timeout.
Battery Saver is useful, but it can shorten timeouts in many cases, especially on laptops.
2) Look for manufacturer power software
Some PCs ship with utilities that manage thermal and battery profiles. If those tools enforce “eco” rules, Windows settings can feel unreliable. If you see Dell Power Manager, Lenovo Vantage, HP Command Center, or similar, check for display/sleep rules there.
3) Update graphics/chipset drivers if behavior is erratic
This isn’t always the cause, but if your screen blanks randomly (not on a consistent timer), updating your GPU and chipset drivers can help. For business devices, IT may prefer drivers from the OEM portal rather than generic ones.
4) If you mean lock screen timeout, change the right setting
Sometimes the complaint is “the lock screen disappears too quickly,” which is different from the screen turning off during use. Windows 11 can hide some lock screen timeout controls depending on edition and policy.
Practical scenarios: the settings that match what you’re doing
Picking a number is easier when you start from the situation, not the menu.
Working at a desk (plugged in)
- Screen: 10–30 minutes
- Sleep: 30–60 minutes, or “Never” if you run long tasks (use with judgment)
If you’re in a shared office, keep auto-lock or a short lock timeout, so the screen going “never” does not turn into “anyone can read my email.”
Traveling with a laptop (battery matters)
- Screen: 2–5 minutes
- Sleep: 5–15 minutes
This keeps the laptop usable without the “why is my battery gone” surprise.
Presenting slides or demoing software
- Screen: set to “Never” temporarily
- Sleep: set to “Never” temporarily
- After the session: revert to normal
For long presentations, it’s often safer to plug in and keep your screen timeout high rather than rely on frantic mouse wiggles.
Key takeaways and a simple action plan
If you want a clean, low-drama result, start with Settings and confirm you changed both battery and plugged-in values, then test for five minutes without touching the mouse or keyboard.
- Fastest fix: Settings > System > Power & battery > Screen and sleep.
- Most common “gotcha”: Battery Saver or a manufacturer utility overriding your choice.
- Best habit: avoid “Never” long-term unless you pair it with locking (Win + L) or strong auto-lock rules.
If your device is managed by work or school and you can’t keep changes, it may be policy-driven, in that case you’ll probably need IT to adjust the rule rather than fighting it locally.
If you’re still stuck, try the Control Panel Power Options method and compare behavior per power plan, it often reveals what’s really controlling the timeout.