
Best budget desk setups for gamers come down to three things you can actually control on a tight spend: stability, ergonomics, and a layout that keeps your gear (and cables) from taking over the room.
If your current desk shakes when you flick your mouse, your wrists hurt after a couple matches, or your headset cable keeps snagging, you do not need a “dream setup” to fix it, you need a smarter shopping list and a clearer order of upgrades.
This guide breaks down what matters most, what to skip, and how to build a clean gaming desk setup step by step, with realistic budget ranges and a few options that work in small apartments, dorms, or shared spaces.
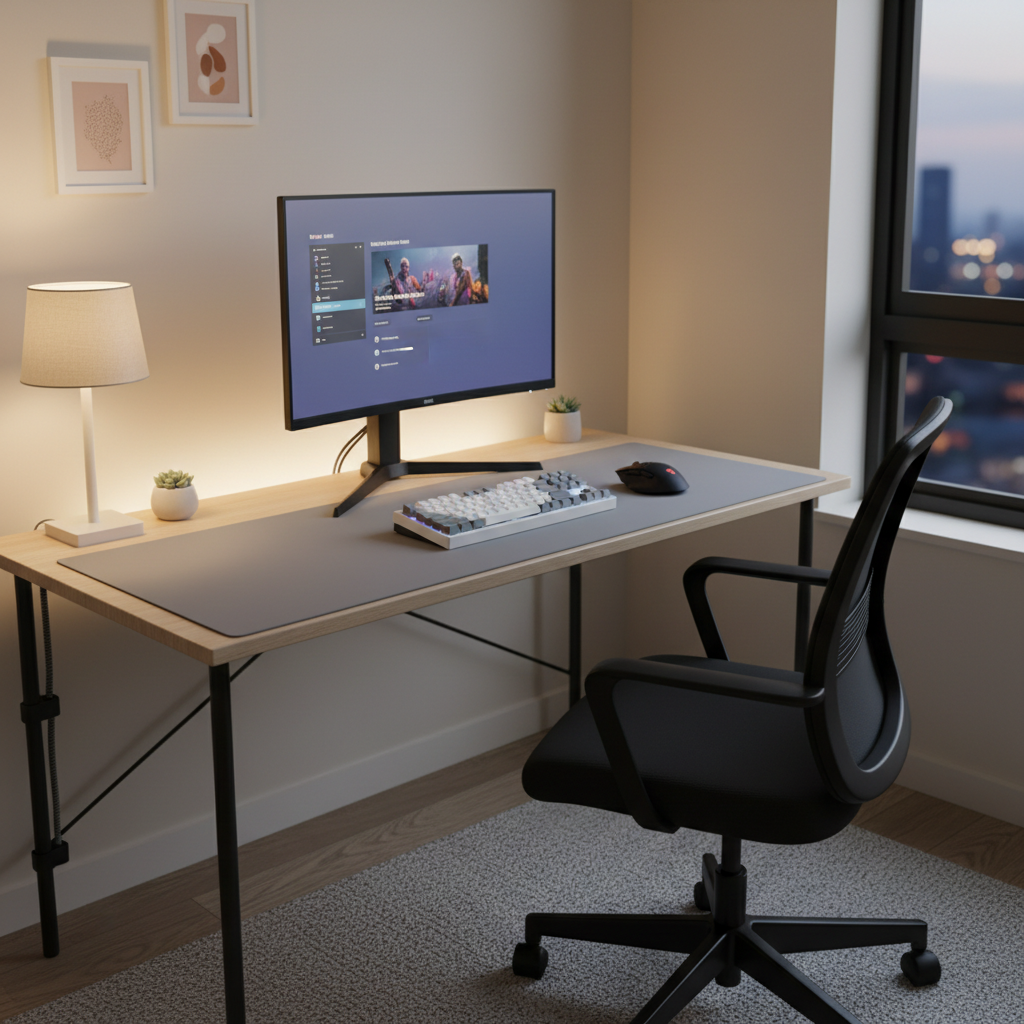
What “budget” should mean for a gaming desk setup
Budget is not just the cheapest possible parts, it is spending where you feel the difference. For most people, the desk, chair, and monitor position decide comfort and consistency more than a fancier keyboard ever will.
- $150–$300: workable starter, focus on desk stability and mouse space
- $300–$600: “feels dialed-in” tier, add a real chair, monitor arm, better lighting
- $600–$900: still budget-conscious, but you can solve almost every annoyance
Also, decide your constraint early, space or noise or portability. A solid small desk beats a big shaky one, and a quieter keyboard might matter more than RGB if you share a wall.
The non-negotiables: stability, posture, and usable surface area
Most “why does this feel bad?” issues come from a desk that flexes, a chair that forces bad posture, or a layout with no room for mouse movement.
Desk stability (the underrated performance upgrade)
A stable desk keeps your aim consistent and your monitor from wobbling. Look for thick top panels, metal crossbars, and fewer “floating” designs that flex at the joints. If you already own a desk, adding a back brace, corner brackets, or a wall anchor can help in many cases.
Ergonomics you can set up in 10 minutes
According to OSHA, neutral wrist posture and proper monitor height help reduce strain during computer work, and the same principles apply for gaming sessions where you do repetitive inputs for long periods.
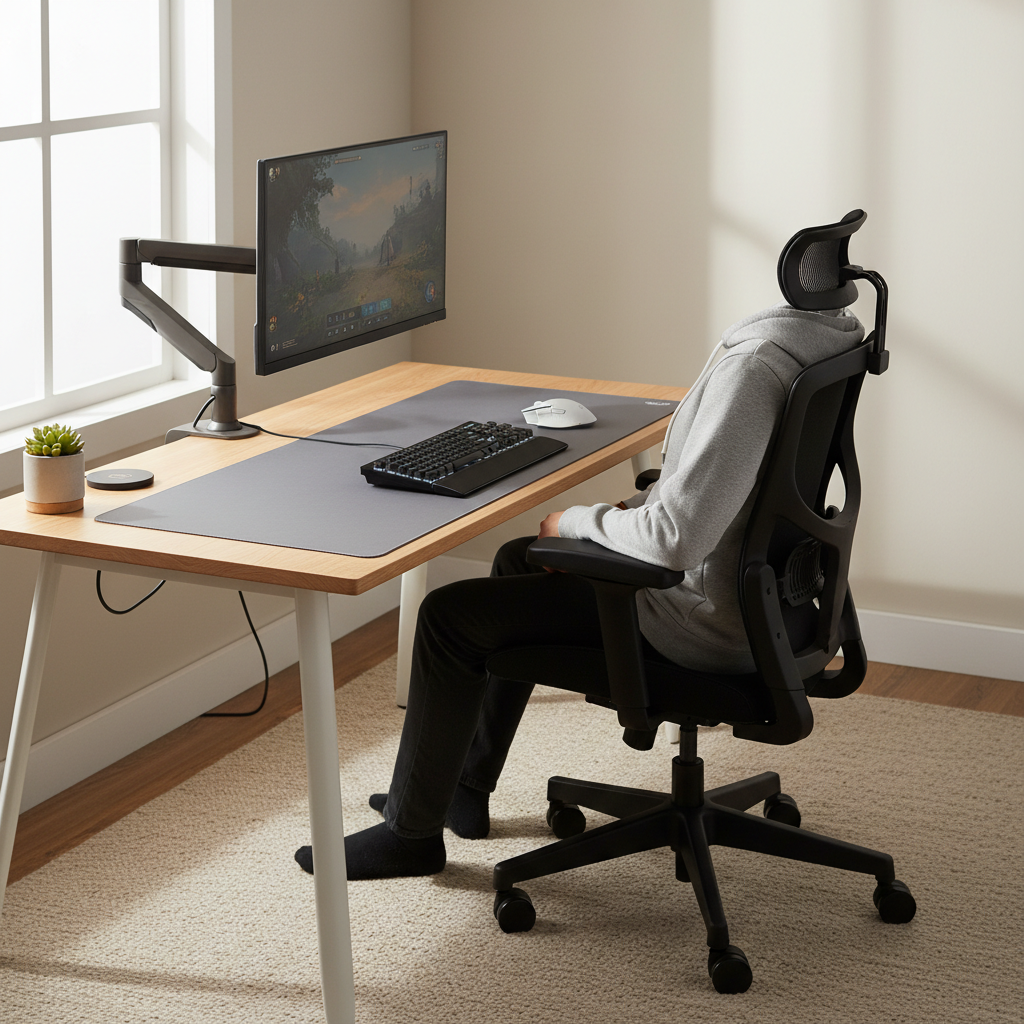
- Monitor: top third of screen near eye level, about an arm’s length away
- Elbows: roughly 90–110 degrees, shoulders relaxed
- Wrists: straight, avoid resting hard on sharp desk edges
- Feet: flat on floor, or use a small footrest box if needed
Surface area that matches your sensitivity
If you play low sensitivity, you need lateral space more than depth. A large mousepad (or desk mat) is usually the cheapest way to make a setup feel instantly more “pro.”
A quick self-check: what kind of budget setup do you actually need?
Before buying anything, identify your pain point. This prevents the classic mistake: replacing gear that is not the bottleneck.
- Your desk shakes when you type or swipe: prioritize desk frame, bracing, or a monitor arm that reduces wobble
- You run out of mouse space: get a larger pad, rotate the keyboard slightly, consider a TKL layout
- Neck/shoulder soreness: raise monitor, add lumbar support, adjust chair height
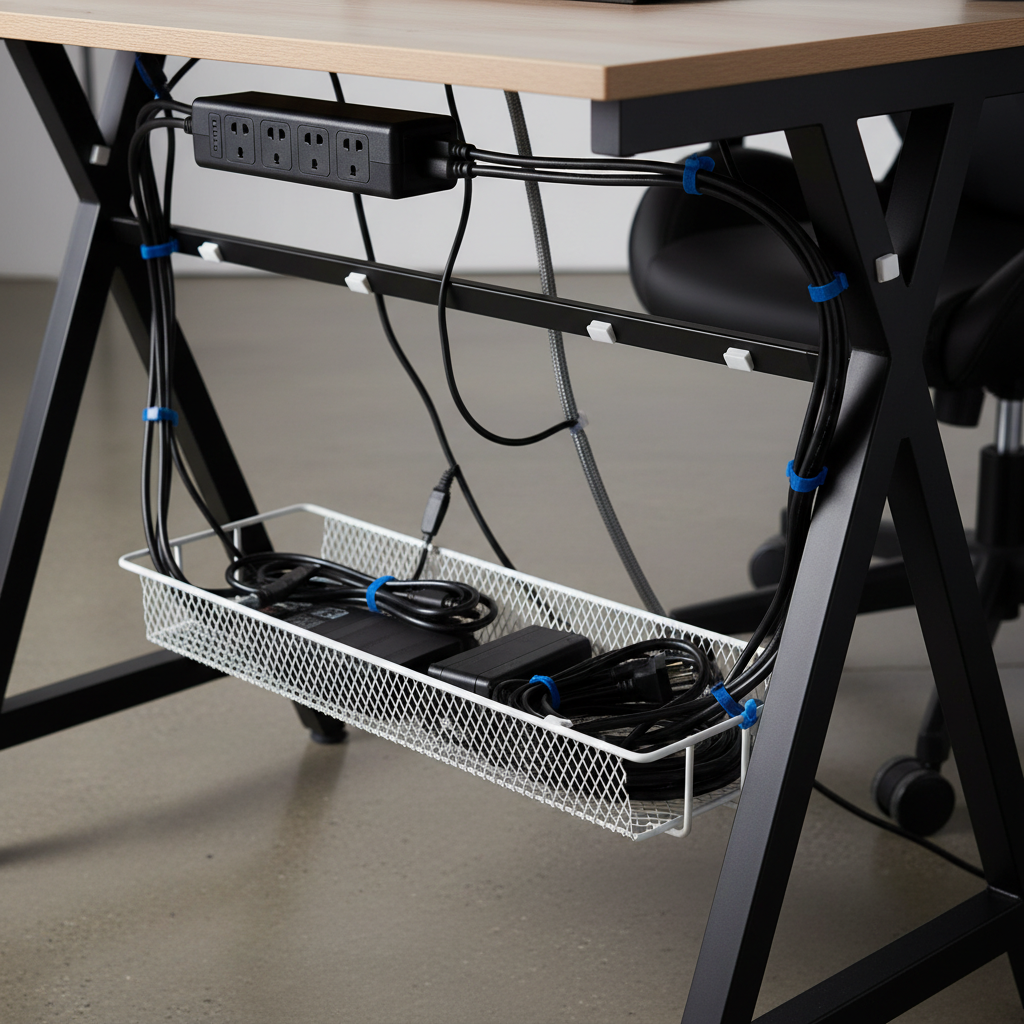
- Cable mess distracts you: mount a power strip, use Velcro ties, route one “spine” cable run
- Small room: choose a 47–55 inch desk, clamp accessories, and vertical storage
- Shared space: reduce noise, add a mic arm, manage lighting glare
Recommended budget desk setups (3 proven builds)
These builds are less about exact brands and more about a parts list that works across common US retailers. Mix and match based on what is on sale, your space, and whether you plan to upgrade later.
Build A: The “Small Space Starter” (roughly $200–$350)
- Desk: 47–55 inch sturdy writing desk with metal frame
- Chair: basic task chair with adjustable height, add a lumbar cushion if needed
- Monitor position: simple riser or stackable stand
- Mouse area: large desk mat (one of the best value upgrades)
- Lighting: small dimmable desk lamp, warm-neutral bulb
- Cables: Velcro ties + adhesive clips
Who this fits: dorms, bedrooms, anyone who needs “good enough” without permanent changes.
Build B: The “Competitive Clean” (roughly $350–$650)
- Desk: 55–63 inch desk with crossbar support, or a butcher-block top with budget legs
- Chair: mid-range ergonomic chair, prioritize seat comfort and lumbar support over racing style
- Monitor arm: single clamp arm to free surface space and set proper height
- Keyboard: TKL or 75% layout for more mouse room
- Cable management: under-desk tray + mounted power strip
Who this fits: FPS and MOBA players, stream-curious users who want a tidy camera frame.
Build C: The “Cozy Multi-Use” (roughly $450–$900)
- Desk: stable 60 inch desk with stoRAGe drawer, or modular top + drawer unit
- Chair: ergonomic chair with adjustable arms and tilt tension
- Audio: closed-back headset (less sound leak) or compact speakers at low volume
- Lighting: bias lighting behind monitor to reduce perceived glare in many rooms
- Storage: headset hook, controller stand, small drawer for cables
Who this fits: work-from-home plus gaming, people who want comfort without turning the room into a neon cave.
Budget shopping priorities (save money without “cheap” results)
If you only remember one thing, remember this order. It is how best budget desk setups for gamers usually end up feeling premium without overspending.
- 1) Desk stability and size: the foundation, everything else clamps or sits on it
- 2) Chair comfort: you can game through a mid keyboard, not through back pain
- 3) Monitor height: arm or riser, posture changes fast
- 4) Mousepad and layout: makes movement smoother and reduces “crowded” feeling
- 5) Cable management: cheaper than it looks, improves daily usability
- 6) “Nice to have”: RGB strips, décor, premium keycaps, collectibles
According to the American Optometric Association, good screen habits and reducing glare can help with digital eye strain in many cases, so basic lighting and monitor positioning are not just aesthetics.
Practical setup steps: assemble, place, tune (in one evening)
This is the part most guides skip, but it matters. You can buy the right items and still end up annoyed if placement is sloppy.
Step 1: Place the desk for less glare and less cable drama
- Try to avoid facing a bright window directly, side light often feels easier
- Keep a reachable outlet, if not possible, plan a single extension run and mount the power strip under the desk
Step 2: Set monitor height and distance, then lock it in
- Use a monitor arm or riser, then tilt slightly back to reduce reflections
- If you use two displays, keep the main one centered, not offset
Step 3: Optimize mouse space before buying anything else
- Rotate keyboard 5–15 degrees if you need room fast
- Consider moving the PC tower off the desk, a small stand helps airflow and frees space
Step 4: Do cable management in one pass
- Create one main cable “spine” down a rear leg
- Leave a small service loop so you can unplug gear without ripping clips
- Label chargers, future-you will thank you
Budget breakdown table (what to spend on, and what to skip)
Use this as a reality check when you are building a cart. Prices vary a lot by sales and region, but the priorities hold up.
| Category | Smart budget range | Why it matters | Common overspend trap |
|---|---|---|---|
| Desk | $90–$250 | Stability, space, clamp support | Paying extra for RGB or “gamer” branding |
| Chair | $120–$400 | Comfort over long sessions | Racing-style looks with limited adjustability |
| Monitor arm/stand | $25–$120 | Posture + more desk room | Dual arms when you only need one |
| Mousepad/desk mat | $15–$40 | Control, comfort, protects desk | Ultra-premium pads before fixing desk wobble |
| Lighting | $15–$60 | Less glare, better visibility | Overbuying RGB strips with no plan |
| Cable management | $10–$35 | Daily usability, cleaner look | Buying expensive “kits” you will not use |
Common mistakes that make a budget setup feel worse
Some mistakes are subtle, and they waste money because you keep “upgrading” around the real issue.
- Buying a huge desk for a tiny room, then you cannot place it well, you end up with glare and awkward cable runs
- Ignoring monitor height, neck strain sneaks up and you blame the chair
- Putting the PC tower on the desk by default, you lose surface area and your mouse hand gets cramped
- Overdoing cable ties, then every change becomes annoying, leave slack where it makes sense
- Chasing “gaming” labels, plenty of office-focused items outperform budget gamer-branded ones
If you feel numbness, tingling, or persistent pain, it may be worth adjusting your setup and considering a check-in with a qualified healthcare professional, especially if symptoms keep returning.
Key takeaways (so you can build faster)
- Start with stability, a steady desk and correct monitor height change everything
- Buy space before you buy flash, mouse room and layout beat aesthetics
- Clean cables once, use one routed path and a mounted power strip
- Upgrade in order, desk and chair first, accessories after
Conclusion: a budget setup can still feel “intentional”
Most people who end up happy with best budget desk setups for gamers do fewer upgrades, but they pick the right ones, a stable desk, a comfortable chair, a sensible monitor height, then they clean up the layout so nothing fights their hands.
Your next move: pick one build style above, set a realistic total budget, then spend your first dollars on stability and posture before you chase nicer peripherals.
If you want the simplest win tonight, get your monitor to eye level and give your mouse more room, those two changes usually show up immediately in how the whole desk feels.