
Best phone camera lenses for vlogging usually come down to one thing: what problem your current footage keeps showing you, shaky framing, cramped indoor angles, or soft close-ups that never look “pro.”
If you’re filming on a phone, you already have a capable camera, but the built-in lenses force tradeoffs, ultra-wide can warp faces, tele can get noisy indoors, and digital zoom still looks rough in a lot of situations.
This guide helps you choose lens types that actually move the needle for vlogging, explains what to check on your phone before buying, and gives a practical setup path so you don’t end up with a drawer full of clips-on you never use.
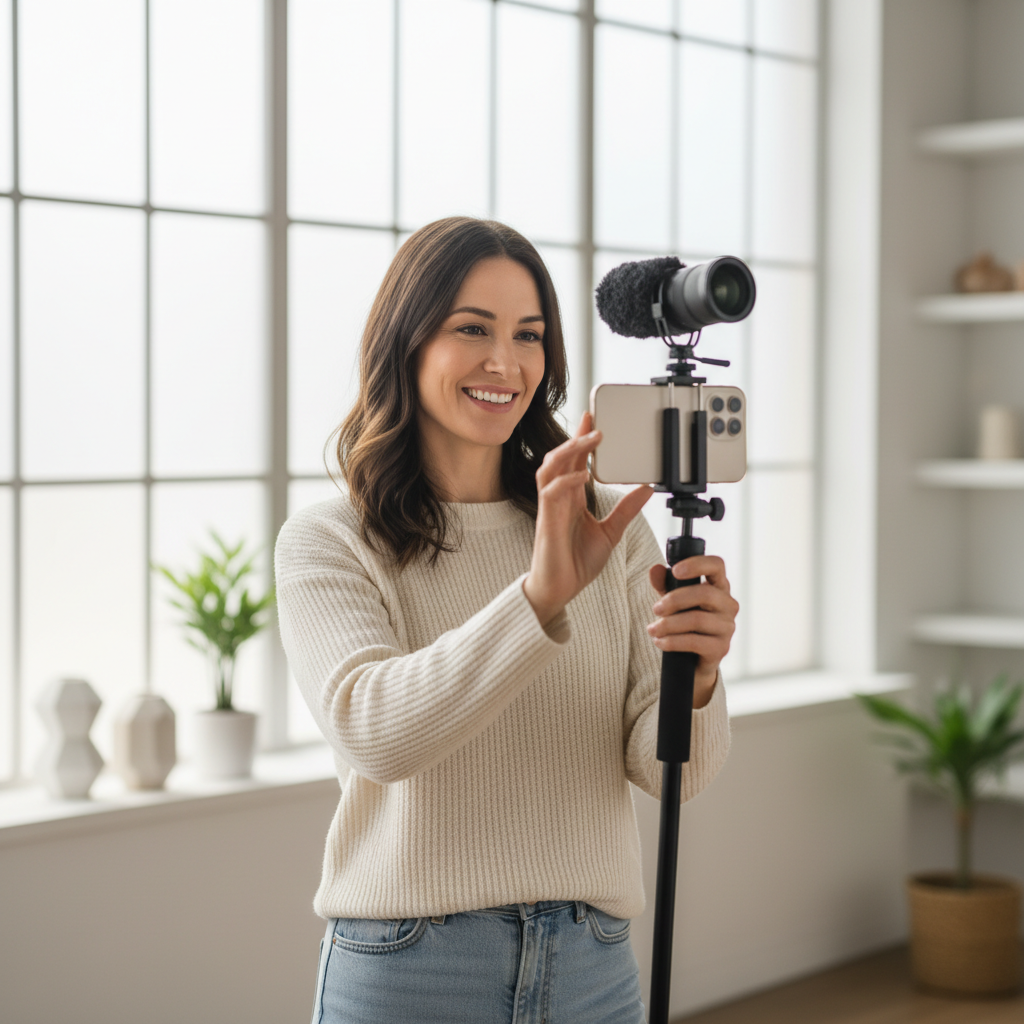
What “best” really means for vlogging lenses (and what it doesn’t)
Most people shop for “best” as if there’s one winner, but for vlogging it’s more like matching a lens to your typical distance, light, and framing habits. A lens that’s amazing for travel walk-and-talk can be annoying for desk shots, and vice versa.
Also, an add-on lens cannot magically turn a phone into a cinema camera. It can, however, fix very specific pain points like tighter framing without digital zoom, better close-up detail, or wider shots in small rooms.
- Best for tight rooms: wide-angle that stays sharp at the edges.
- Best for product demos: macro with enough working distance to light the subject.
- Best for “talking head” compression: telephoto that avoids noisy crops.
- Best for style: anamorphic if you’re willing to edit and manage flare.
Key takeaway: pick a lens to solve the one issue your audience notices first, framing and clarity, not “more gear.”
Lens types that matter most for phone vlogging
When people search best phone camera lenses for vlogging, they’re typically looking at four categories. Here’s what each one is good at, and where it bites back.
Wide-angle (most common “vlogging” add-on)
A wide lens helps when your arm isn’t long enough, your tripod sits close, or you film in cars, bedrooms, kitchens. The good ones keep faces natural and corners usable.
- Good for: handheld selfie shots, small spaces, group shots.
- Watch out for: edge distortion, soft corners, “big nose” look when too close.
Telephoto (more flattering, better reach)
Tele can make talking-head shots look cleaner by giving a little compression and letting you keep the phone farther away, which also helps with audio if you’re using a mic on a stand.
- Good for: sit-down YouTube, street details, B-roll from a distance.
- Watch out for: shaky handheld footage, darker indoor scenes.
Macro (for product, food, crafts)
Macro is the “wow” lens for close-ups, but it’s also the easiest to buy and then abandon, because lighting and focusing get finicky fast.
- Good for: product textures, makeup detail, food prep, hobby channels.
- Watch out for: tiny focus plane, blocking light with your phone.
Anamorphic (cinematic look, more workflow)
Anamorphic lenses stretch the image and create a wider cinematic frame after de-squeeze. They can look great, but they’re not a “set it and forget it” choice.
- Good for: travel films, stylized storytelling, moody B-roll.
- Watch out for: editing steps, flare control, alignment.
Quick comparison table: which lens should you buy first?
If you want a fast decision, use the table below. It’s not brand-specific, because the “best” purchase often depends more on your shooting pattern than a logo.
| Vlogging scenario | Lens type to start with | Why it helps | Main tradeoff |
|---|---|---|---|
| Selfie walk-and-talk in tight spaces | Wide-angle | More scene without stepping back | Potential face distortion up close |
| Desk setup, talking head, clean background | Telephoto | Flattering perspective, less “phone look” | Needs steady support, needs light |
| Product reviews, crafts, food close-ups | Macro | Texture and detail people can “feel” | Harder focus, lighting required |
| Travel storytelling, cinematic B-roll | Anamorphic | Wider frame and stylized flares | Extra editing + careful framing |
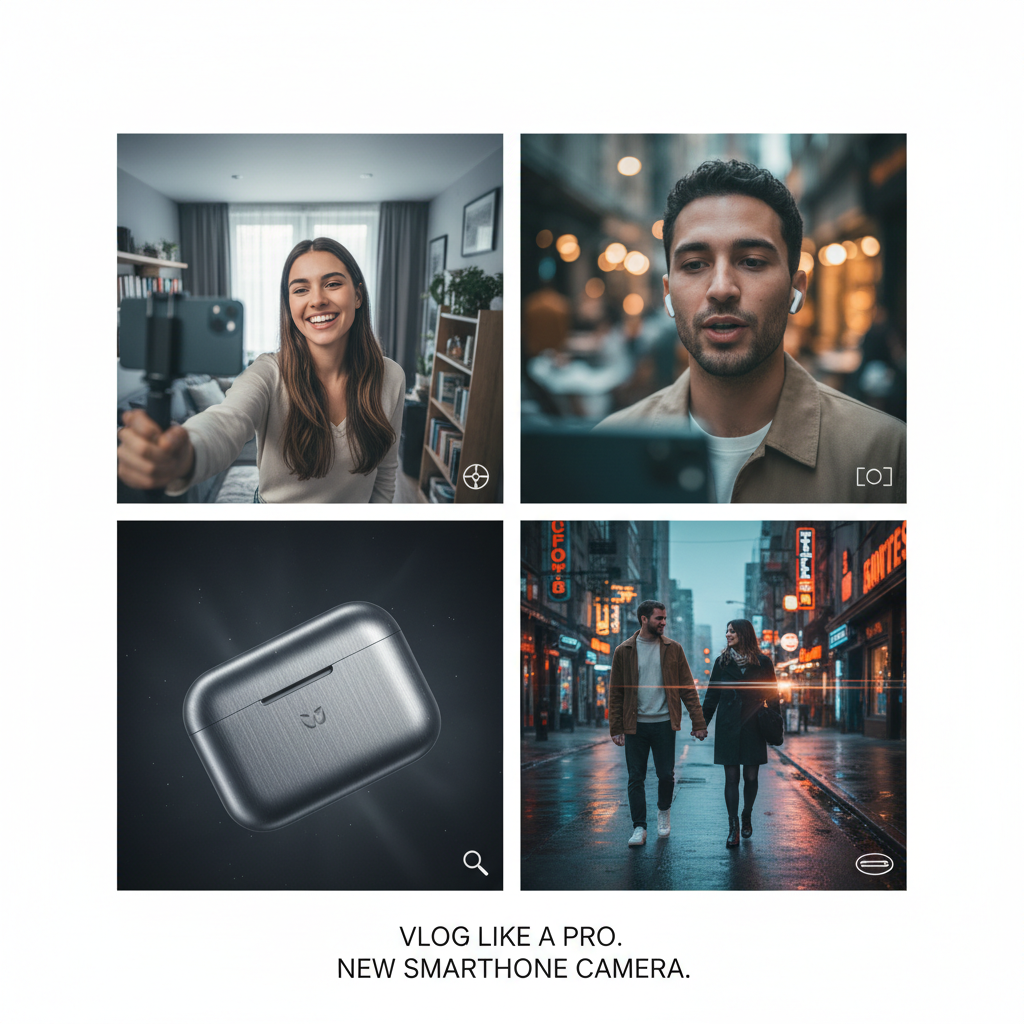
Compatibility checklist before you buy (this saves returns)
Phone lenses fail in real life for boring reasons: the mount doesn’t line up, the case blocks the lens, the app crops weirdly, or the lens vignettes on the phone’s ultra-wide.
- Which phone camera will you use? Main camera usually looks best; some add-on lenses don’t play nicely with ultra-wide modules.
- Mount style: clip-on (fast, but alignment-sensitive) vs case mount (stable, but phone-specific) vs cage mount (most reliable for rigs).
- Case clearance: thick cases can cause misalignment; many setups work better with a thin case or no case.
- Vignetting check: if corners darken, you may need to zoom slightly or use a different camera module.
- Focus behavior: some combos hunt for focus; lock focus/exposure if your app allows.
According to Apple Support, you can use features like AE/AF Lock on iPhone in the Camera app to help maintain consistent focus and exposure while recording, which becomes more important when you add extra glass.
How to choose based on your channel style (real-world patterns)
Here’s the part people skip: what you vlog about tends to dictate the best phone lens more than your budget. If your videos are mostly your face, your priorities differ from someone filming coffee pours and keyboard sounds.
Travel and day-in-the-life
Start with wide-angle, add tele later if you do a lot of scenic cutaways. For walking shots, lens choice matters less than stabilization and horizon control.
- Buy-first: wide-angle
- Add-next: tele for signs, skyline details, candid B-roll
Studio talking-head (YouTube, courses, interviews)
Telephoto can look more polished, but only if you have enough light and a stable support. If your room is tiny, a wide lens might still win because it makes framing easier.
- Buy-first: telephoto if you can place the phone farther back
- Fallback: wide-angle if you’re always cramped
Beauty, food, product reviews
Macro is the obvious pick, but consider a wide lens too, because you’ll still need overhead “context” shots. Macro becomes a tool you pull out for specific moments, not the whole video.
- Buy-first: macro if close-up detail is your hook
- Add-next: wide-angle for top-down and setup shots
Practical setup steps: getting better footage in one afternoon
Buying the lens is the easy part, using it consistently is where most setups fall apart. This is a simple workflow that usually works with any of the best phone camera lenses for vlogging choices.
- Step 1: Decide your “default” shot, selfie handheld, tripod talking-head, or top-down, and build around that.
- Step 2: Mount for stability, if you vlog weekly, a case/cage mount often feels less annoying than a clip-on.
- Step 3: Set your framing marks, tape on the floor, tripod height mark, or a note where your face should sit.
- Step 4: Lock exposure and focus when possible, it reduces pumping and flicker.
- Step 5: Do a 10-second test clip, check corners for softness and darkening, then adjust.
One more thing: audio usually affects “quality” more than the lens. If your lens budget is fighting your mic budget, it’s often smarter to balance both.
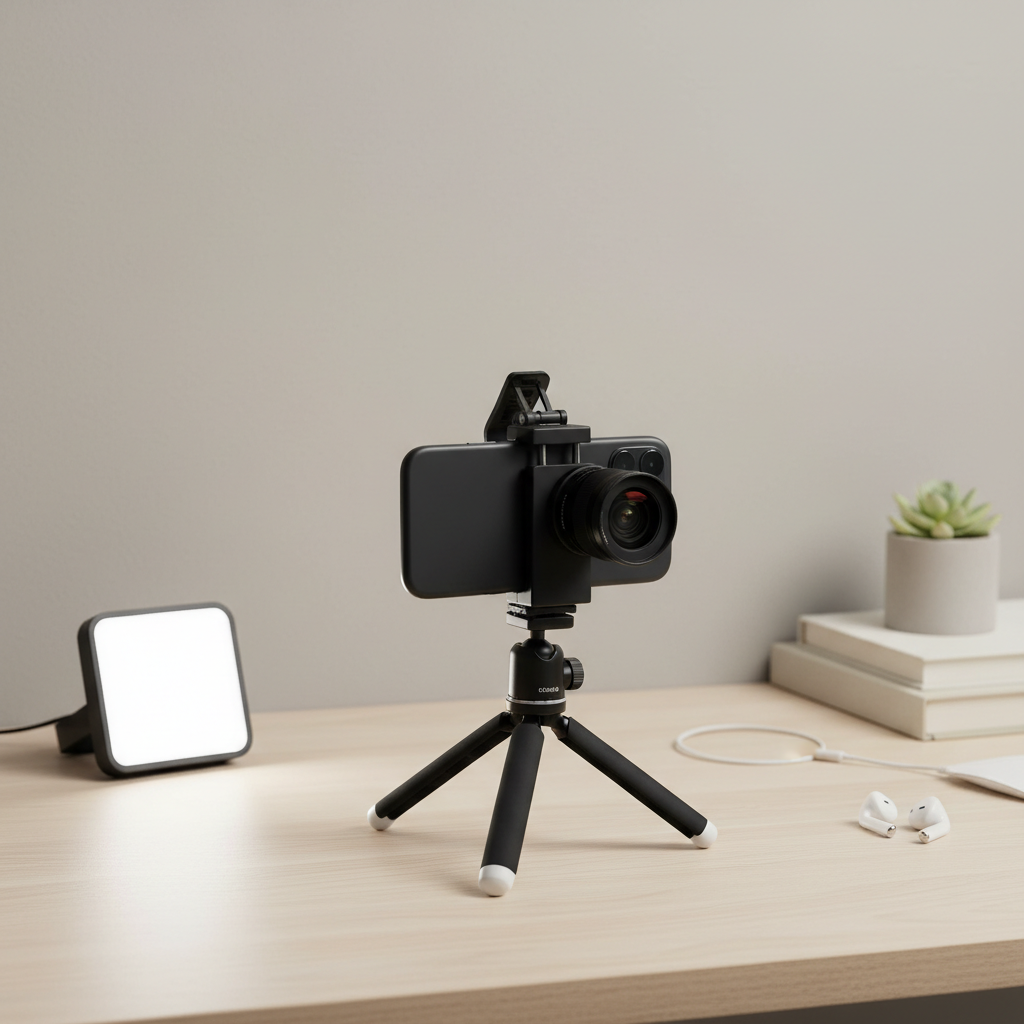
Common mistakes (and how to avoid wasting money)
Most disappointment comes from mismatched expectations or mismatched gear. A few traps show up again and again.
- Buying a wide lens to “look cinematic”: wide is about space, cinematic look is more about light, motion, and color.
- Ignoring edge quality: cheap wide lenses can make corners mushy, which viewers read as “bad camera.”
- Using macro with no light plan: you’ll get blur and shadows, then blame the lens.
- Clipping over a dirty phone lens: fingerprints + extra glass equals haze; clean both before recording.
- Over-relying on digital zoom: even with good phones, heavy crops usually look worse than stepping closer with better framing.
According to Adobe, strong storytelling and consistent production choices are key to keeping viewers watching, so treat the lens as a tool that supports your format, not the format itself.
Conclusion: a simple way to pick your “best” lens
If you’re stuck, choose the lens that fixes the shot you film most often. For many creators, that’s a wide-angle for tight spaces, for others it’s a telephoto to make a talking-head setup feel less like a front camera clip.
Action ideas that usually pay off quickly: write down your top two filming locations and your default distance to camera, then pick one lens type that solves that exact constraint, and commit to it for ten videos before you add anything else.